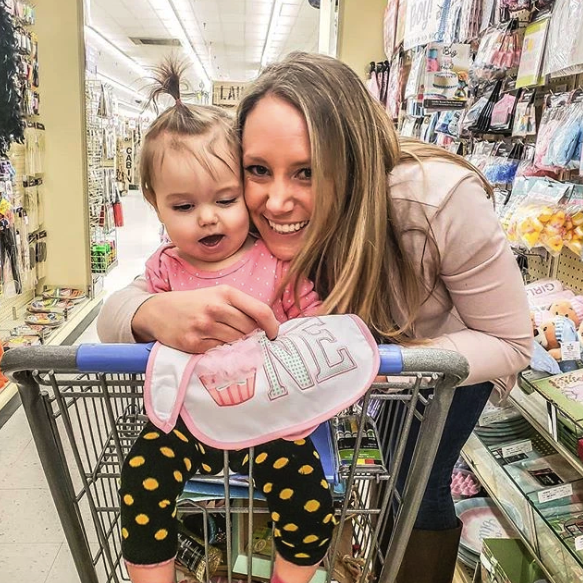
I cannot believe Harper is ONE!!!! I literally feel like I blinked and the whole year was gone. What happened to my little dependent baby girl!? She’s starting to walk, drinks milk out of a sippy cup, and is starting to say some words- especially dog and dada. She had such an amazing time at her first birthday party and I’m SO happy we went with the mermaid theme! It turned out SO CUTE!! I posted a little poll on my Instagram a couple weeks ago (click here to follow!) about which DIY project to post next and this was the winner! Hope you find some good ideas!

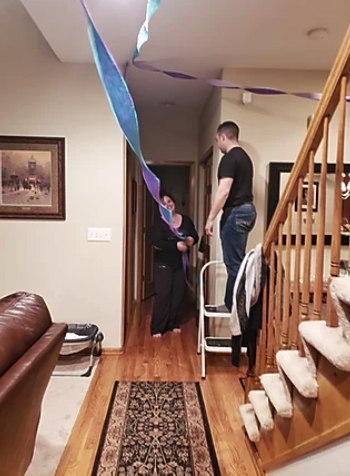
Let’s start with the decorations.😍 It was Harper’s first birthday… so of course we went all out haha! My amazing in-laws were generous enough to let us have the party at their house (we were STILL undergoing kitchen renovations at this time) and they were a huge help! My mother-in-law Cindy bought this adorable decoration pack on Amazon with TONS of fun mermaid banners, streamers, balloons and those cute little puff balls…all for only 15 bucks! Click here to check it out
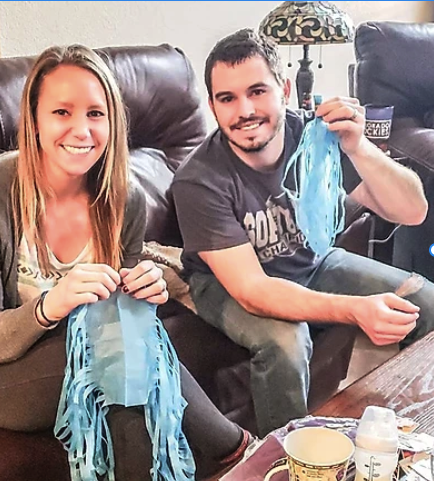
We had so much fun hanging these! Harper’s Uncle AJ was a huge help and had so much fun hanging up streamers. Here’s a look at what we did with all of the decorations with the party pack:
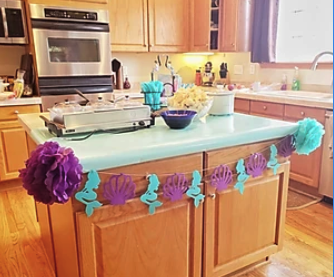

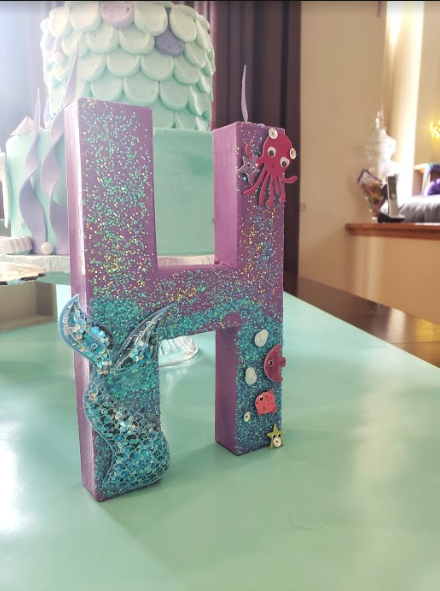
I also had a lot of fun creating some fun things for the party as well! I took a little trip to Hobby Lobby and found some amazing finds. They actually had a whole section with Mermaid themed Birthday Party Decor- we bought some cute plates and napkins here! Along with those we got a little cardboard letter H and number 1 to make these cute little decorations! We have these in her room now, she loves the little mermaid tail on the H!
To make these–>
Ingredients-
- Foam Brush
- Acrylic Paint
- Glitter
- Mod Podge
- Scrap Booking Stickers (I found mine at Michaels)
Steps-
1. Paint 2 coats of paint, let it dry completely. Brush Mod Podge all over the letter or number and pour glitter over the top- I pressed down on the glitter to really make it stick (I made sure to do this over a box so it wasn’t a glitter disaster)
2. Let the glitter dry completely, pick it up and shake it a bit, apply more if necessary. Continue this until desired amount is sticking. Let the glitter dry for several hours.
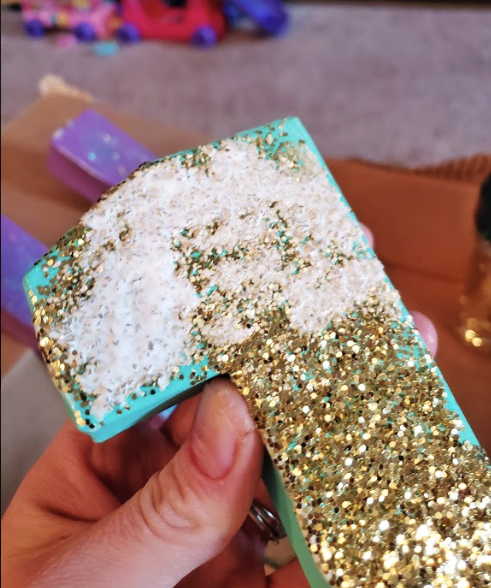
4. Gently press mod podge over the top of the glitter (don’t BRUSH, just pat) this will help seal it so you don’t have glitter coming off everywhere.
5. Let it dry completely then apply stickers as desired! I used a little bit of hot glue to make sure they stuck.
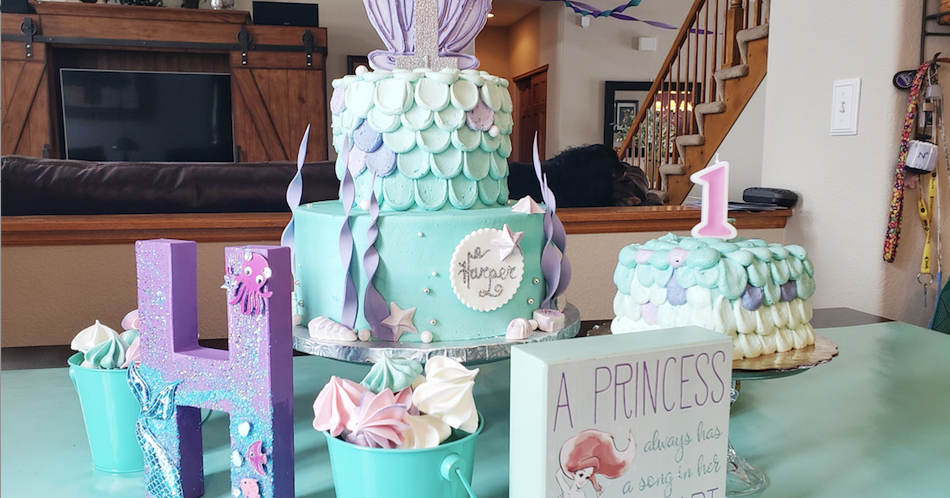
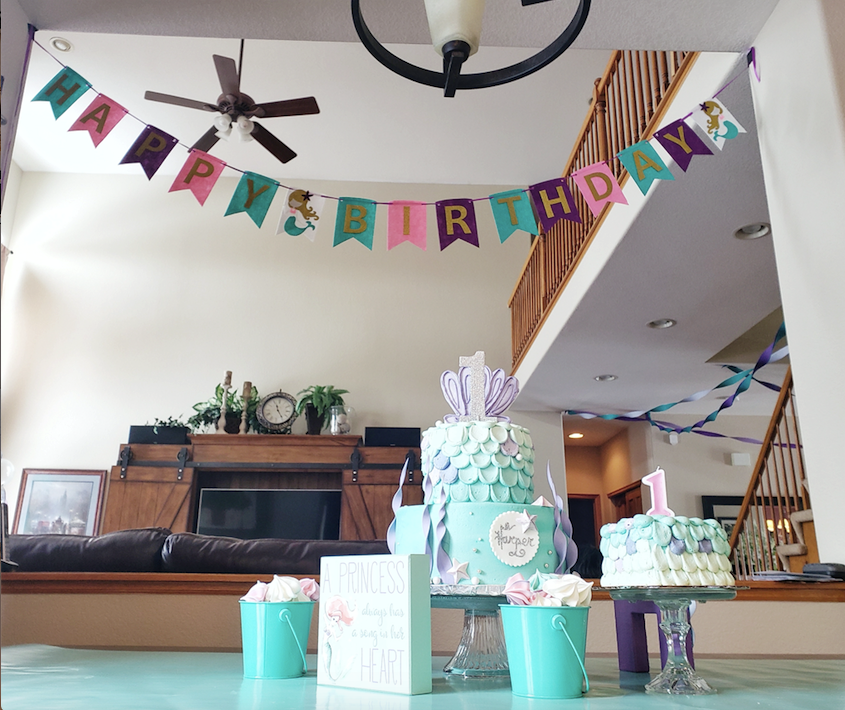
We put the H on Harper’s cake table and the cute glitter 1 with all the food (sorry I totally forgot to take an individual pic of this…I was in full party mode😂)They turned out so cute!
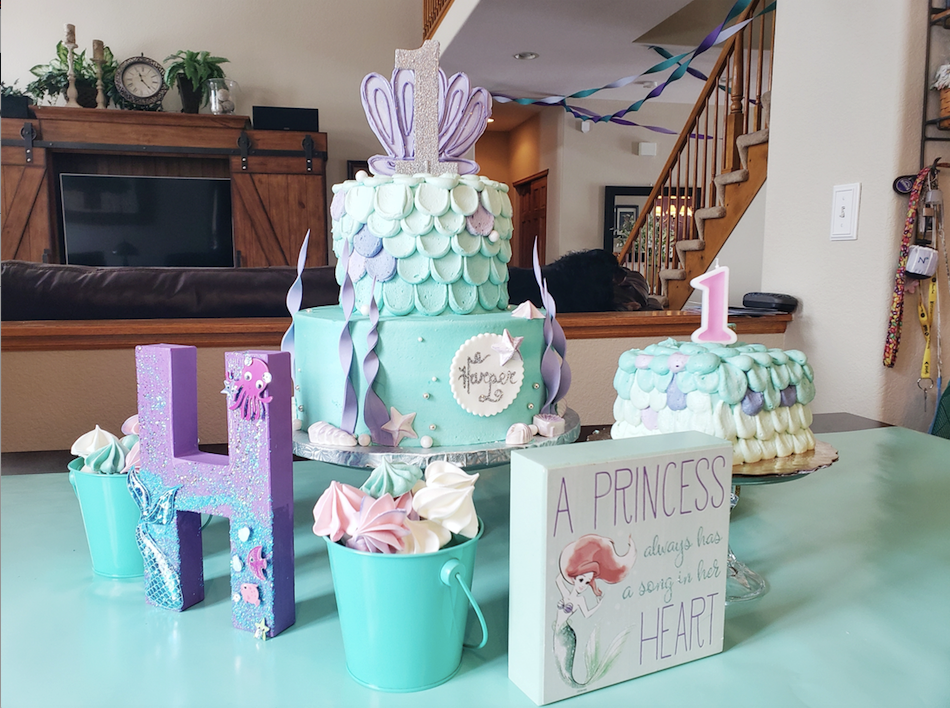
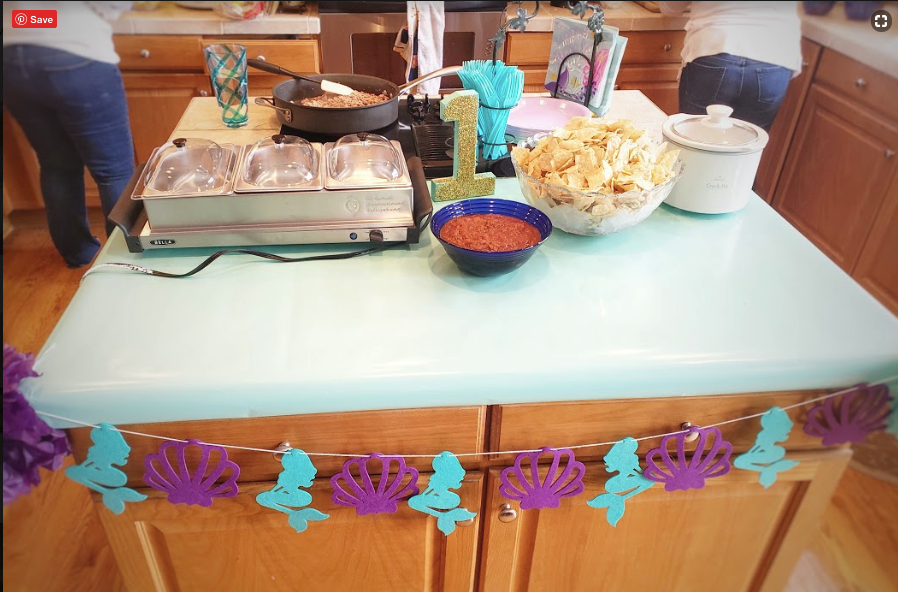
I learned a really great trick a while back and I will literally never buy party table cloths again!! I hate using those little plastic covers, so I bought a roll of teal wrapping paper at Hobby Lobby and it was perfect! We used it on the kitchen island, the cake table, and the gift table. As for the little mermaid sign next to the cake in the photo above… also Hobby Lobby! For only FOUR DOLLARS. Literally my favorite store. We thought it was perfect because Harper really does actually love to sing and dance! We have that hanging in her room now as well.
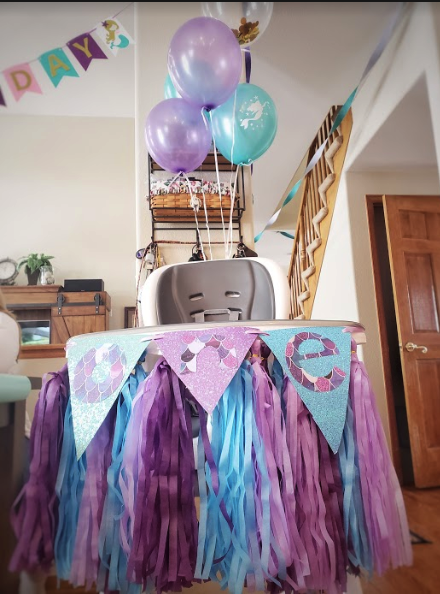
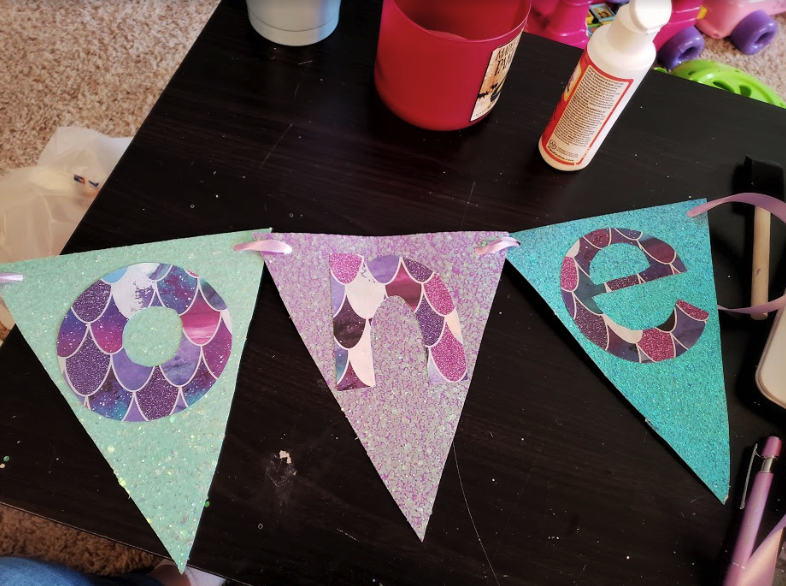
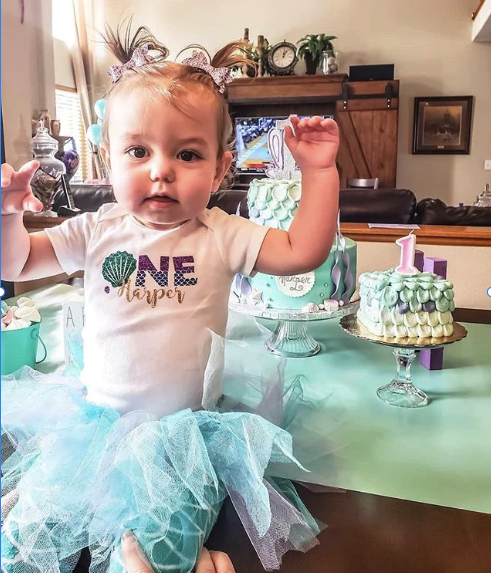
Next craft was this cute little “ONE” banner on her high chair. SO simple and cheap! I found the glitter scrapbook paper and mermaid paper at Hobby Lobby and just used some purple ribbon. I started by just cutting the simple triangle shapes on the glitter paper. Then for the letter O I used the base of a candle to trace it and cut it, then I used that letter as a size template for the other letters. I just hot glued them and put some heavy books on top of the papers overnight to stay flat and dry completely. After that I just used a hole punch to attach the ribbon and attached it to her high chair! The streamers behind it were also a part of that Amazon party pack…which my hubby was so kind as to help assemble!
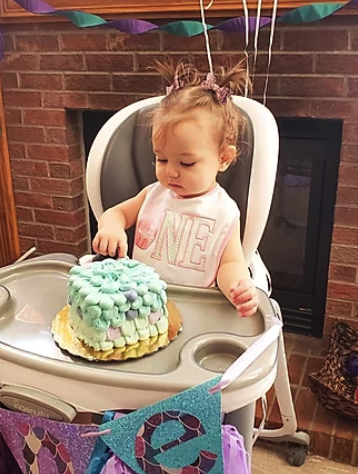
I got SO MANY compliments on this amazing cake!!! We went to Posh Cakes in Parker, Colorado…I HIGHLY recommend using them. I went in with very low expectations and just showed her a similar picture from Pinterest, and said this is our theme, we just want the same colors and what not. And holy cow did they deliver. They totally recreated it! We got a free matching smash cake (which Harper hated 😂) and also got those cute pastel treats there as well (in the teal buckets next to the cake).
Last but not least…Her OUTFIT!
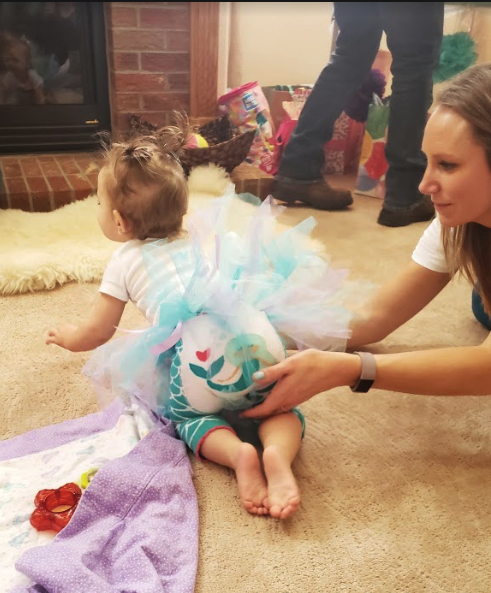
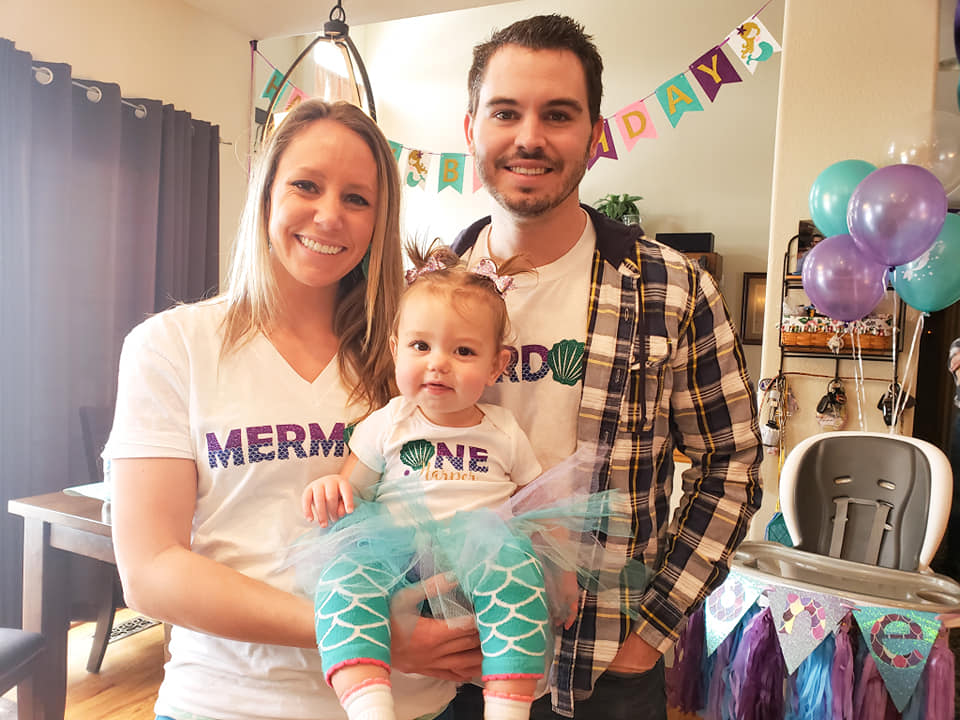
I actually came up with this party theme because of these adorable Izzie and Owie pants my mother-in-law bought Harper a while back… I mean…just look at that little mermaid butt 😍
Her Tutu was such an easy thing to make, just 5 steps…and less than 5 dollars. Click here for my steps to make your own!
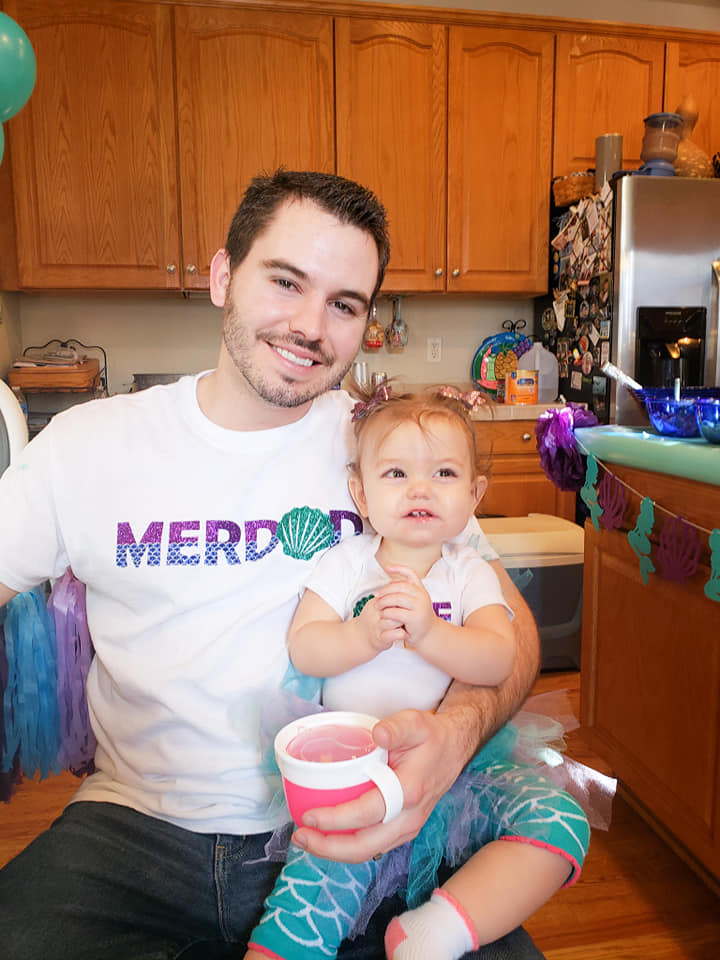
Lastly we had these adorable custom shirts made by HYK Limited! She did such an amazing job and made them exactly how I wanted. Daddy was such a trooper and wore his glittery Mer-Dad shirt with pride🤣.
It was a successful party with happy guests and a very happy little one year old mermaid!