
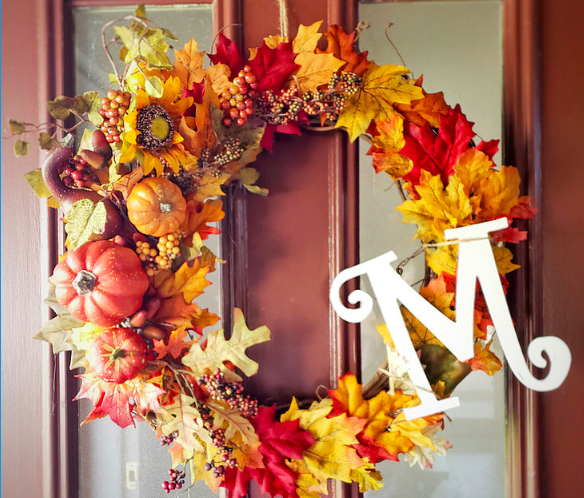
Every year I look forward to the first weekend of fall for a NUMBER of reasons….the food, the changing weather, the upcoming holiday season… and the decorations! I absolutely love decorating my home as the seasons change. I get to fill our house with pumpkins and beautiful fall colors. One thing my home has been missing in years past is a fall wreath for my front door. I went to Hobby Lobby to see if I could find them and they were EIGHTY DOLLARS or more! Are you serious!? So I walked around and bought some supplies for less than 25 dollars to make my own, and I love how it turned out!
Here’s a list of my very simple steps to make your own fall wreath for your home.

Step 1
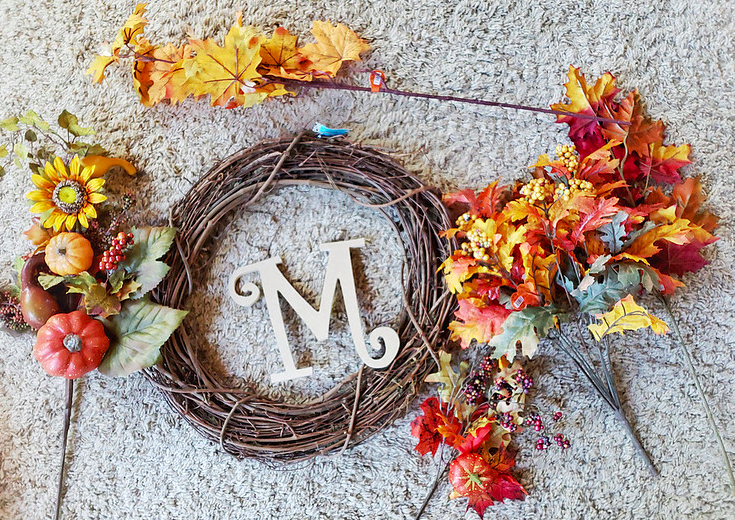
Gather supplies:
- – Grapevine wreath ($4.99 at Hobby Lobby)
- Assortment of fall leaves, flowers, small pumpkins (I purchased 5 stems, only used 4)
- Wooden Letter for your last initial
- White acrylic or chalk paint
- Foam Brush
- Twine or burlap
- Hot Glue gun
Step 2
Remove the leaves and flowers from the stems
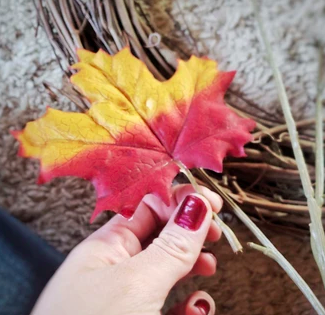

My leaves were pretty easy- all I had to do was pull them and they came off. One bundle however I needed to use wire cutters to cut the wire, my scissors weren’t strong enough.
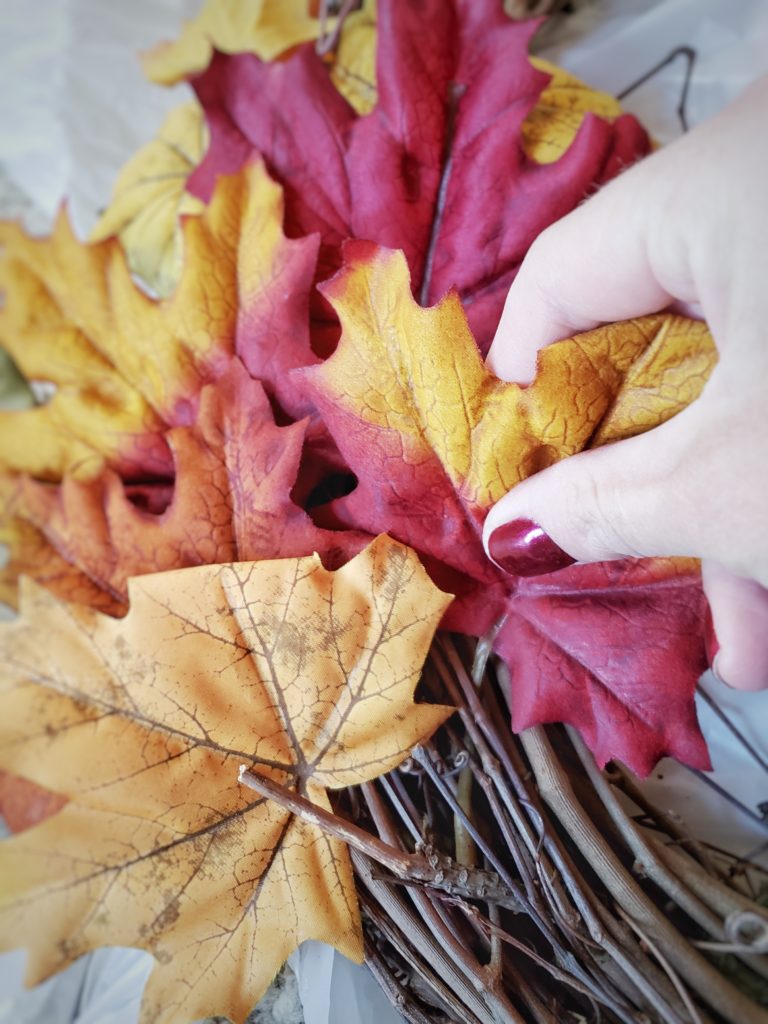
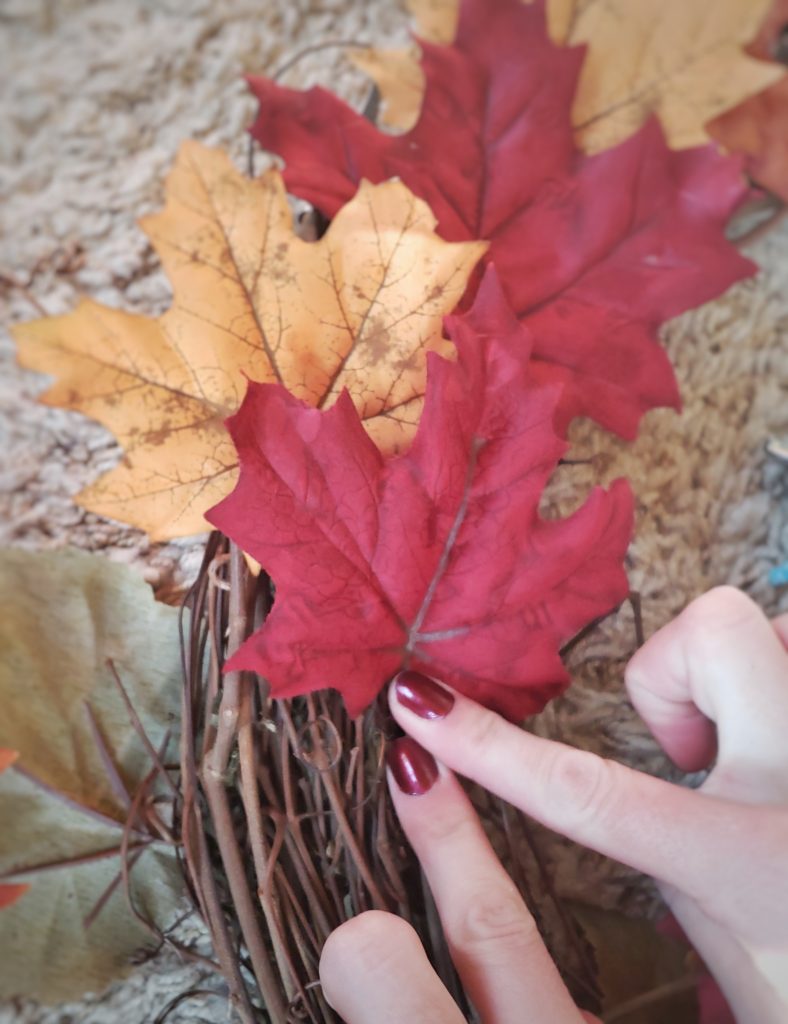
Step 3
Before gluing- arrange your leaves on the wreath and decide what look you want to go with. I did this a couple of times before deciding where I wanted to place the pumpkins, flowers and letter! Make sure you take pictures to look back to while you are gluing.
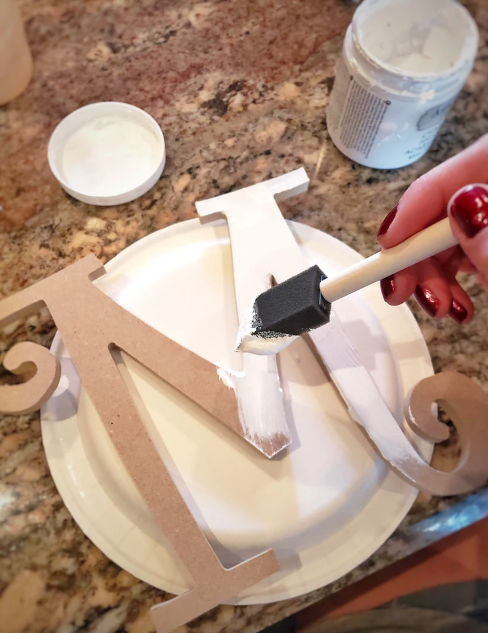
Step 4
Use the white acrylic or chalk paint to paint two coats of paint on your letter (I just used a simple foam brush). While paint is drying, start step 5.
Step 5
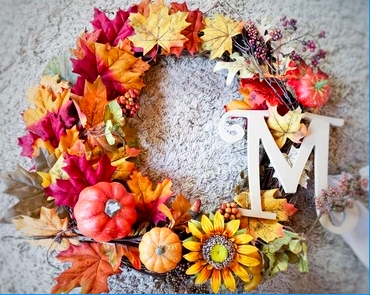
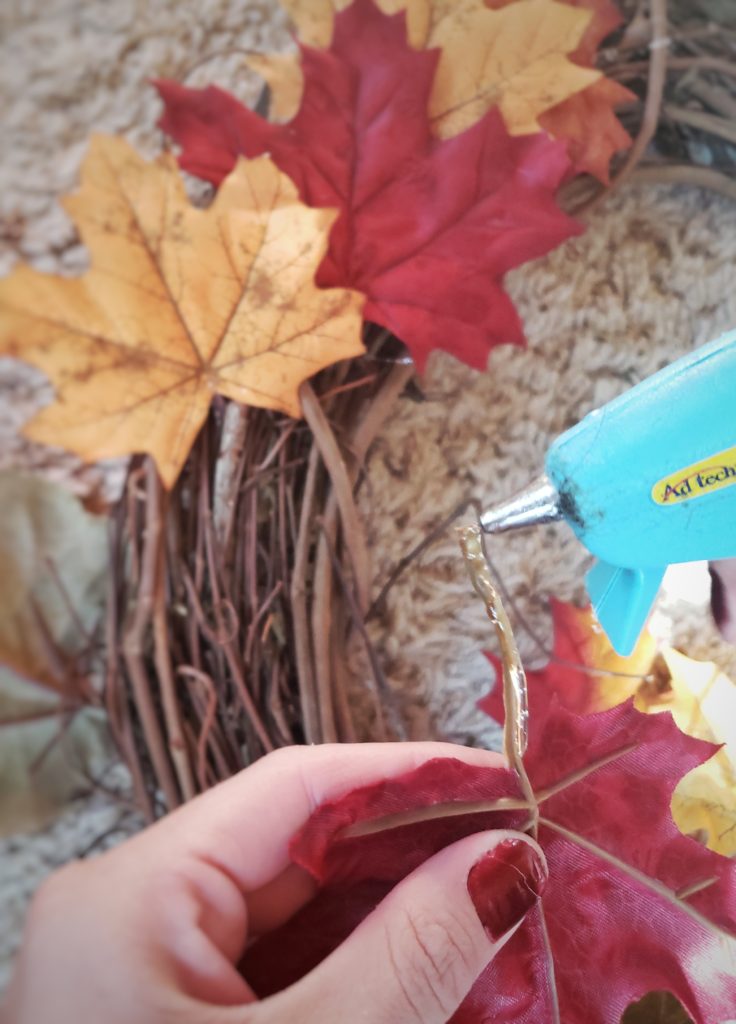
Using the hot glue gun, glue the stem of the leaf and insert it into the grapevine. Hold the leaf for a few seconds to help set the glue. Continue to layer the leaves, flowers and pumpkins around the wreath, look back to your picture from step 3 if you need to remember where you wanted everything to be placed. I’m a perfectionist so had the picture pulled up the whole time 😂 There’s nothing worse than hot gluing some thing and then deciding you don’t like it there!
Step 6
Once your letter is dry, use twine and hot glue to secure your letter onto the wreath. I put hot glue on the back of the letter only where it would touch the leaves and held it down for about ten seconds, then I tied the top and bottom of the M with twine to secure it.

Step 7
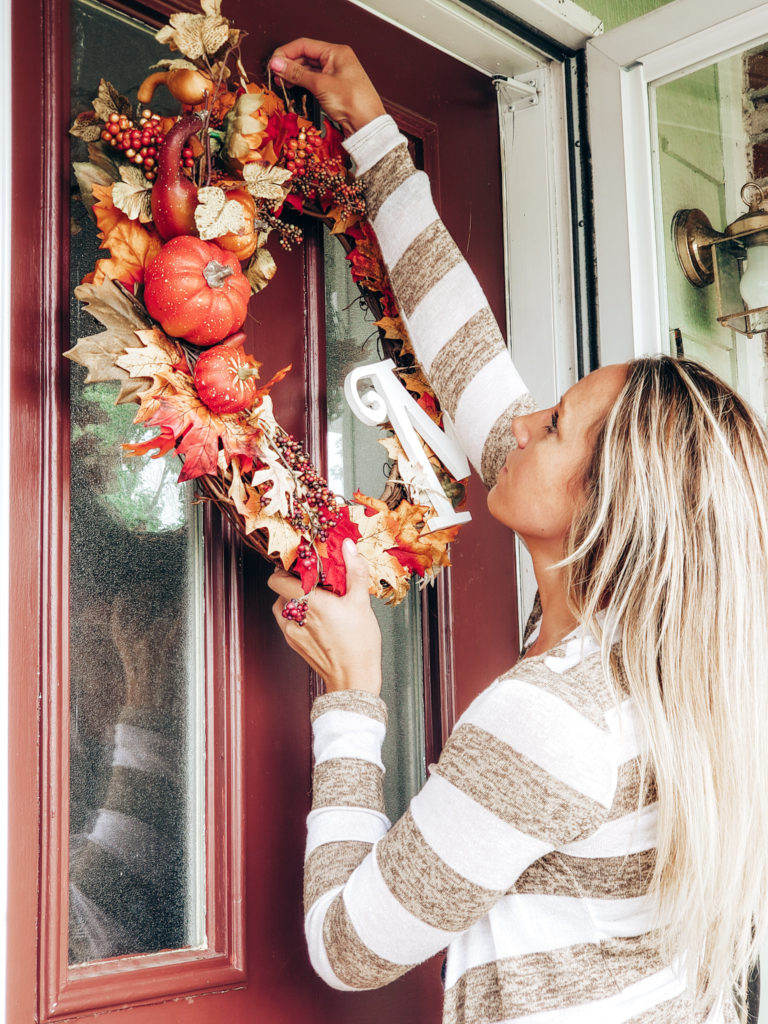
Use twine or a burlap bow to make a loop at the top of the wreath for hanging. Hang on your front door and enjoy!
This was such a fun and simple craft! I can’t believe I haven’t made one before this year, I now have a wreath that looks like the 90 dollar wreathes in Hobby Lobby BUT it’s customized and SO much more affordable! I would love to see your wreaths when you’re finished! Comment below with a picture when you’re done!
What other fall crafts would you like to see this year? Drop a comment below!